We’ve all been there: standing on a freezing train platform or halfway up a ski slope, feeling that unmistakable “numbness” creeping into our toes. When your feet are cold, your whole body feels it.
That’s where air-activated toe warmers become a total lifesaver. They are thin, discreet, and incredibly convenient. But the most common question I get is: “Where exactly do I stick these things?”
The answer actually depends on what you’re doing. Let’s break down the “Top vs. Bottom” debate so you can get the most out of your warmers.
The General Rule: Always on the Outside
First things first—whether you choose top or bottom, never apply the adhesive side directly to your skin. As someone who works with medical device safety standards, I can’t stress this enough. These patches are designed to be stuck to the outside of your sock. This protects your skin from “low-temperature burns” and ensures a steady heat transfer.
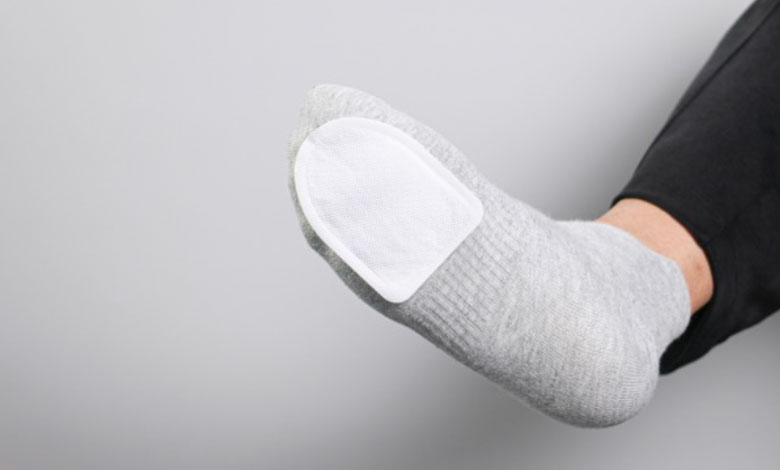
Option 1: On the Top (Over the Toes)
This is actually the most recommended position for most people, and for good reason.
- Best for: Tight-fitting shoes, skiing, snowboarding, or hiking.
- The Benefit: Most of our shoes (especially boots) have a bit more “wiggle room” above the toes than under them. Placing the warmer on top prevents that uncomfortable “lump” under your foot that can ruin your stride.
- Why it works: The blood vessels that supply warmth to your toes are very close to the surface on the top of your foot. Heating this area helps keep the circulation flowing right to the tips.
Option 2: On the Bottom (Under the Toes)
If you are going to be stationary, this might be your best bet.
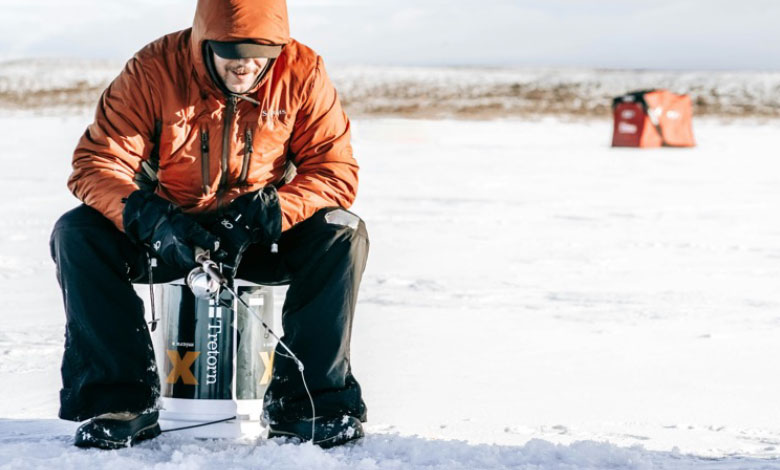
- Best for: Ice fishing, sitting in a stadium, or standing for long periods on cold pavement.
- The Benefit: Heat rises. By placing the warmer underneath your toes, you are creating a “heated floor” for your foot. This is particularly effective if the cold is coming directly from the ground you’re standing on.
- The Trade-off: It can feel a bit like a small pebble in your shoe if you’re walking a lot. If you have sensitive feet or are prone to blisters, I’d suggest sticking to the top.
Why “Air-Activated” is the Professional Choice
From a practical standpoint, air-activated technology is brilliant. It uses a simple, natural oxidation process (iron powder reacting with oxygen).
- Convenience: You don’t need to charge batteries or boil pads. Just tear the pack, give it a quick shake to let the air in, and you’re set for 8 hours.
- Ultra-Thin Profile: Unlike older gel packs, these are engineered to be paper-thin so they don’t change your shoe size.
- Stability: The adhesive backing is a game-changer. It ensures the warmer stays exactly where you put it, even if you’re active.
A Quick Pro-Tip for Better Results
Because these warmers need oxygen to work, they can sometimes “fall asleep” inside very tight, air-tight boots. If you feel the heat fading, just take your shoe off for a moment to let a little fresh air in. It will “reactivate” the patch almost instantly!
One Safety Note: If you have decreased sensation in your feet (which can happen with certain circulatory conditions), please be extra careful and check your skin frequently. We want you warm, but we want you safe!

Final Thoughts
Next time you’re heading out into the chill, remember: Top for movement, Bottom for standing still. I always keep a couple of pairs in my glove box and my laptop bag. It’s a small, inexpensive way to make a freezing day feel like a walk in the park.